Please do not copy my tutorial & publish it elsewhere (anywhere in anyway). Give me credit for the tut & the fish design!! You can sell your bows & clippies & stuff with this fish on them..Just give me credit for the design! (You can not mass produce this design)
This tutorial is assuming you know the basics of working with polymer clay!
To make this fish you need:
Polymer clay (I used, tropical green, wasabi, sunflower & white of Fimo Soft and Studio)
Cutters: sizes are approximate 1/2" heart, 3/4" circle,1/4" teardrop, circle & flower
Brayer or roller, needle tool, black acrylic paint

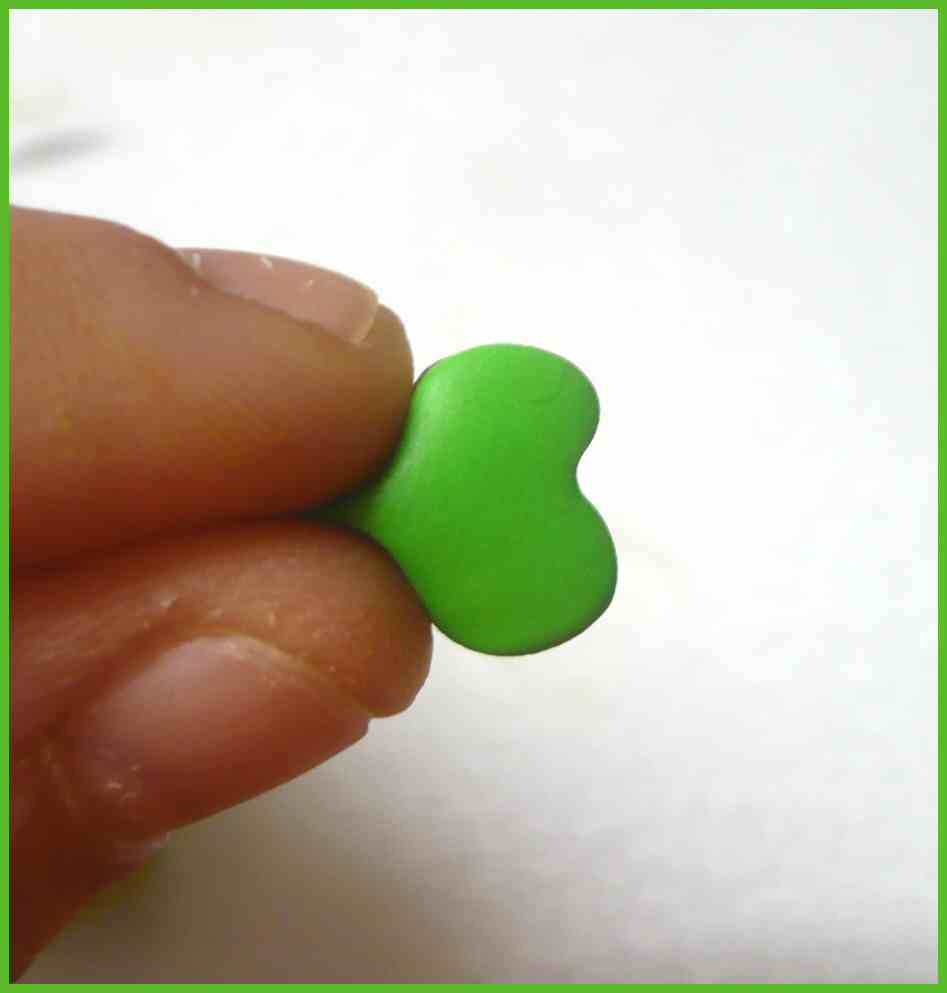
Roll out your clay. The white will be the eyes so it can be pretty thin. The wasabi & tropical green should be thicker as its the fishes body & tail.


Make some lines on your tail with the needle tool


Add the flower to the fish. Roll a tiny ball of wasabi & press into the flower for the center. Use your stylus dipped into black acrylic paint to dot on the eyes. Use the needle tool to draw in a mouth.

Bake your fish in the oven at recommended time & temp per clay package.
(I bake mine at 260 for 25 minutes on an old cookie sheet lined with plain white printer paper)
Here's a look at some of the combo's I came up with!

No comments:
Post a Comment
Note: Only a member of this blog may post a comment.